Have you ever wanted to draw your favorite soccer star but felt intimidated by getting the face right? I get it. Drawing can be daunting, especially when it comes to capturing someone as recognizable as Kylian Mbappé.
But here’s the thing: mbappe tekenen makkelijk is not just a phrase; it’s a promise. This guide will break down the process into simple, manageable steps that anyone, regardless of skill level, can follow. We’re talking basic shapes and simple techniques, not complex art theory.
By the end, you’ll have a completed drawing and the confidence to try drawing other players.
Gathering Your Essential Drawing Tools
You don’t need to break the bank to start drawing. Accessibility is key.
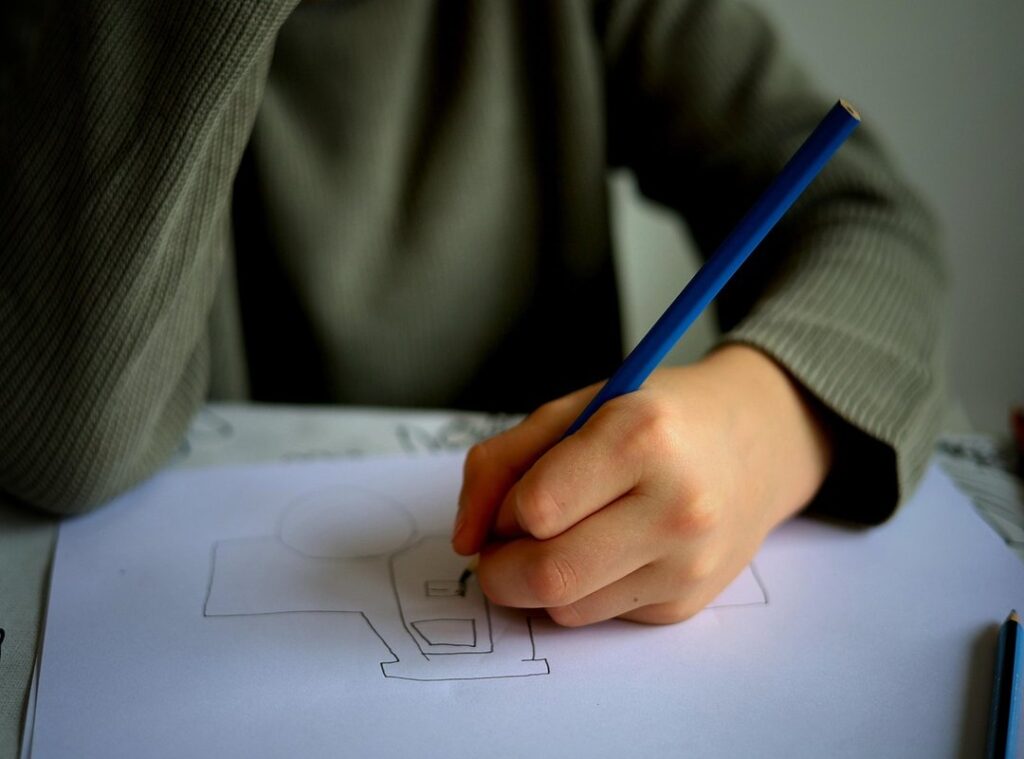
A standard graphite pencil, like an HB or #2, is perfect for initial sketching. It’s easy to erase and control.
For adding details and shading, a slightly darker pencil, such as a 2B, works well. This gives you more contrast and depth.
An eraser is a must. A kneaded eraser is great for lifting graphite without damaging the paper. A standard eraser is also handy for clean lines.
Paper type? Simple sketchbook paper or even standard printer paper is fine for practice. You don’t need anything fancy.
Optional but helpful: a blending stump or cotton swab. These tools help smooth out shading, giving your drawings a more realistic look.
Pro tip: Start with basic supplies and build from there. You can always add more tools as you get more comfortable.
mbappe tekenen makkelijk, and keep it simple and have fun!
Breaking Down the Portrait: Key Shapes and Proportions
Every complex face is just a combination of simple geometric shapes. Think of it like building with blocks—each block is a basic shape, but together they create something intricate and unique.
Start by drawing a large oval for the basic head shape. This oval is your foundation, much like the base of a house. It sets the stage for everything else.
Next, add crucial guidelines. Draw a vertical line down the center of the oval and a horizontal line across the middle for eye placement. These lines are like the scaffolding that helps you keep everything in proportion.
Now, place the nose and mouth lines. The nose line is roughly halfway between the eye line and the chin. The mouth line is about one-third of the way down from the nose line.
Imagine these lines as the blueprint for your portrait.
Map out the general shape of his distinctive short hairstyle. Treat it as another simple shape attached to the top of the oval. This step is like adding the roof to your house—it completes the overall structure.
Remember, this stage is about creating a ‘map’ of the face, not about drawing features yet. Accuracy here makes the next steps much easier. It’s like laying the groundwork before you start building the walls.
This method, mbappe tekenen makkelijk, is all about breaking down the complexity into manageable parts. By focusing on these basic shapes and proportions, you set yourself up for success in the later stages of your drawing. find out more
Step-by-Step: Sketching Mbappé’s Recognizable Features

Let’s start with the eyes. Draw two almond shapes on the horizontal guideline. Make sure the space between them is about one eye-width.
Next, move to the nose. Use the nose guideline to sketch the bridge and nostrils. Pay attention to his slightly wider nose shape.
Now, focus on the mouth. Draw it on the mouth guideline, noting his prominent lips and characteristic smile or neutral expression.
Refine the jawline and chin from the initial oval. This step gives his face its specific structure. It’s all in the details here.
Don’t forget the ears. They typically align between the eye line and the bottom of the nose. Get those proportions right for a more accurate look.
Finally, add detail to the hair. Use short, quick strokes to create the texture of his closely cropped style. This step can make or break the likeness, so take your time.
If you follow these steps, you’ll find mbappe tekenen makkelijk. Just remember, practice makes perfect. Keep at it, and soon you’ll have a great sketch of one of the world’s most recognizable athletes.
Bringing Your Drawing to Life with Simple Shading
Shading is what turns a flat sketch into a 3D portrait. It’s all about adding depth and dimension.
First, identify key areas for light shading. Focus on the under the cheekbones, along the sides of the nose, and under the lower lip. These subtle shadows create the illusion of depth.
Don’t forget the neck area just below the chin. Adding shadows here makes the head look like it’s sitting on the neck, not floating in space.
For the eyes, add a small highlight in each one. This little touch makes them look alive and reflective. It’s a simple trick but it works wonders.
Use a darker pencil, like a 2B, to gently darken the pupils, eyebrows, and the deepest parts of the shadows. This adds contrast and makes your drawing pop.
Remember, always start by shading lightly. It’s easier to add more graphite than to take it away. You can always go back and darken areas as needed.
Pro tip: Practice with a simple sketch first, like mbappe tekenen makkelijk. This will help you get a feel for the technique without feeling overwhelmed.
Your Finished Portrait and Next Steps
Congratulations on completing your drawing of Kylian Mbappé! You started with simple shapes, added features using guidelines, and finished with basic shading.
mbappe tekenen makkelijk is a great way to approach such a project. Don’t worry if it’s not perfect; the key is to celebrate the practice and the finished piece.
Try drawing another favorite player using the exact same step-by-step method to build your skills.